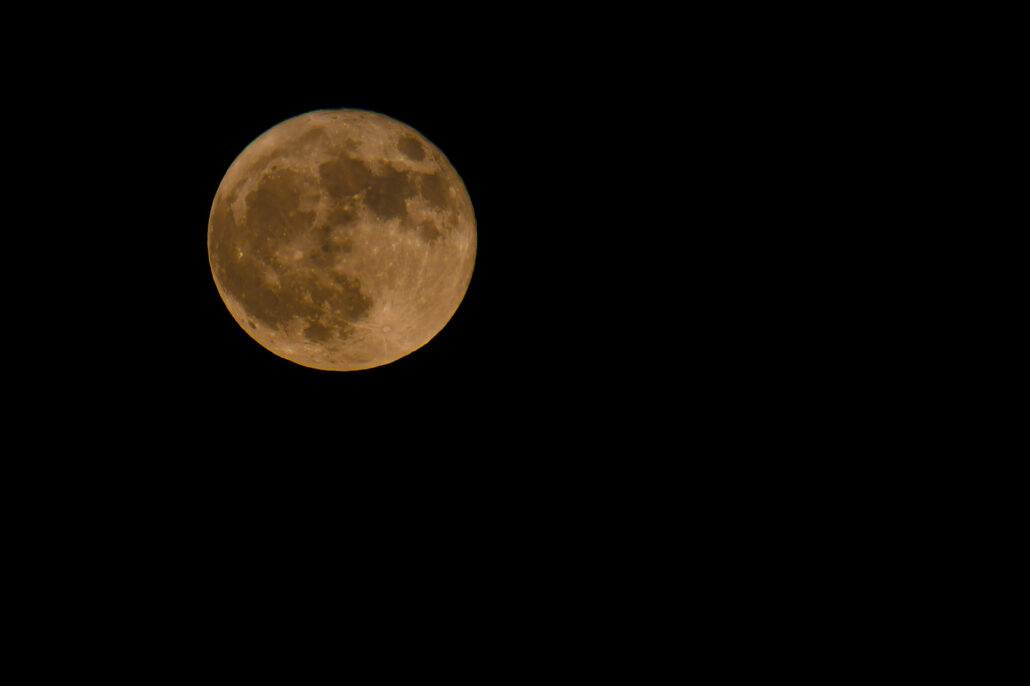
Harvest Moon
This year’s Harvest Moon will be seen this coming Sunday (Oct. 9).
A Harvest Moon is the full moon closest to the Autumnal Equinox (Sept. 22), called such because it provided added illumination for farmers harvesting their crops.
Here’s a quick guide to taking sharp photographs of the moon.
Above is a link to taking photos of the moon with a cell phone and a telescope. If a cell phone is the only camera you own, try this approach.
Remember that whether you take a photo with your cell phone or a camera, the sky will need to be clear where you live to take the photo. If it is smoky, hazy or cloudy, you will be disappointed with the resulting image, and there’s little point frustrating yourself.
If the sky is clear and you want to photograph using a camera, you will need a DSLR, Mirror or Bridge camera to get a picture as seen above.
Attach a telephoto or zoom lens to the camera body. The larger the lens the better. Anything from 200 to 500 mm will get you close enough to the moon to see craters and shadow detail, less than that and you may again be disappointed.
A tripod is essential. Mount your camera and lens to a sturdy tripod. Most large telephoto lenses allow the lens to be mounted directly to a tripod. If you have such a lens, attach it to the tripod. If not, mount the camera body to the tripod. Be sure to tighten up all adjustment points so that the camera doesn’t move during the exposure and avoid using the center extension column, as that makes the tripod less stable.
Turn off all image or vibration stabilization on the camera and its lens. And, remove any filter from the lens. It will not provide any benefit and will reduce image clarity.
Set the camera’s image quality to RAW if you plan to print the image or to .jpg FINE/Large, if you plan to post the image online.
Get the camera out of Auto mode and set it to Manual (M). This is important, because automatic modes overwrite controls that must be set manually to get a sharp image.
Set the camera’s ISO to 100. Then, set the shutter speed to 125 and the aperture to F 11.
To focus the camera automatically, unlock the focus wheel and move the focus point to the middle of the moon as seen through the lens. The camera should be set to focus on one point, not the entire scene. If you will be focusing the camera manually, be sure to move set both the camera and lens to manual focus. When focusing, enlarge the image on the camera’s screen to confirm the image has been focused pin-sharp, or do your best looking through the lens to assure it’s sharply focused.
When you are ready to take the picture, release the shutter using a remote or the camera’s self-timer mode to eliminate camera shake. Do not release the shutter by pushing down on the shutter button as that creates camera shake. Instead, by using a remote or the self-timer, the camera takes its own picture. When using the self timer, set the camera to that mode then press the shutter once to focus and again to turn on the timer, then stand back and let the camera take the picture.
On a DSLR, you will be able to see the picture after it is taken. If the image is too bright, increase the shutter speed (letting less light into the camera). If too dark, reduce the shutter speed (letting more light into the camera).
Do not be concerned that, with these settings, the camera’s exposure meter will read as greatly underexposed. That’s normal for this situation.
If you miss shooting a picture of the Harvest Moon on Sunday, you’re in luck.
This year, the Harvest Moon will also be seen on Monday.
Have fun and good luck!

